
DIY Green Wall Installation Guide
Thank you for choosing Evergreen Walls as your preferred artificial greenery provider. Below is a guide on how to appropriately install our Classic and Best Sellers range of green walls. For the Premium green wall installation guide please contact us.
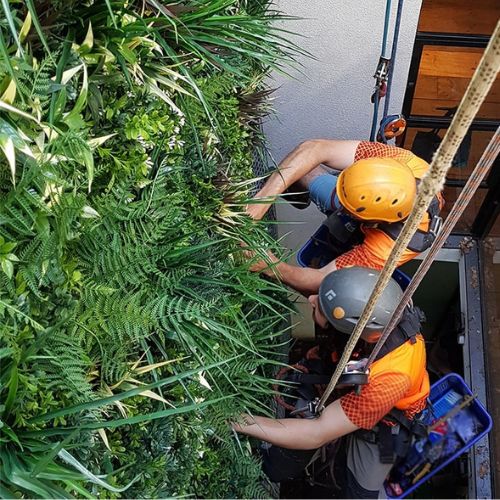
If you do not wish to install your greenery yourself, one of our friendly and qualified Australia-wide installers can do all the work for you.
Before you Install your Green Wall
Site Survey
To ensure a successful and tailored installation, we recommend conducting a thorough site survey. Assess your location and gather essential information which will assist in your green wall installation
If you do not wish to install your greenery yourself, one of our friendly and qualified Australia-wide installers can do all the work for you.
Site Survey Checklist
Location Assessment
Evaluate the chosen location for the green wall, note if you require a UV artificial green wall for outdoors
Assess the structural integrity of the wall where the artificial green wall is to be installed. Ensure the wall can support the weight and anchoring requirements
Site Access
Check how hard the area is to get to:
Low Level
You able to reach the site with no equipment
Mid Level
You will need a step ladder / platform to reach the area
High Level
You will require scaffolding or professional access equipment to reach the site
Surface Material
Site surface material:
What material will green wall will be fixed to? See installation methods above for further info.
* If fixing to a boundary wall, enquire about the terms with your neighbour
*If installing in a rental property, enquire with your landlord
Potential Hazards
Ensure you check any services affecting the site i.e. electricity, water, gas, piping (this also includes any signage that will be installed in or around the green wall)
Prepare Your Wall
We strongly recommend painting your wall black for the best finish. This isn’t compulsory, but it will improve the finish of your green wall.
Installation Methods
The installation method will be slightly different depending on the site surface material. Please ensure you use the correct method to achieve the best outcome for long lasting green walls. Please note that you will require a tape measure, spirit level, pencil, sharp scissors, drill, raw plugs, screws, and/or cable ties for installation.
Gyprock/Plasterboard
Using the pre-made holes on each corner of the green wall panel, screw directly into the wall using a 20mm screw
Timber
Using the pre-made holes on the green wall panel, screw directly into the wall using timber screws with a larger head for more coverage and security
Stone wall
Using the pre-made holes on the green wall panel as a guide, pre-drill a hole in each corner and secure the panel by hammering in nylon nail plugs. Alternatively pre drill a hole, and secure with a plastic plug and screw
Concrete
Using the pre-made holes on the green wall panel as a guide, pre-drill a hole in each corner and secure the panel by hammering in nylon nail plugs. If do not wish to drill into the wall, using glue, clad the wall with plywood and secure the green wall using timber screws
Wire fence
Simply use strong black cable ties to hold in place
Colorbond Fence
Using the pre-made holes on the green wall panel, screw directly into fence using metal screws. If exposed screws on the other side are undesirable, pre-drill two holes for each corner in the fence and use black cable ties to secure the green wall panels. If this also isn’t an option we recommend making a timber frame for the panels to be mounted on to
How to Guide

Step 1
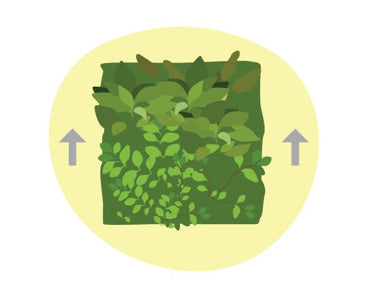
Measure & Mark Up
Using a spirit level, mark each line for fixing points across the top of the wall.
Start at the top and go left to right or right to left to avoid any gaps and unnecessary offcuts.
Step 2
Secure First Panel
Screw/plug your first panel in each corner using the guideline, ensuring the greenery on the panel is facing upwards.
Step 3
Secure the Second Panel
Plug and screw the Evergreen Fixing, use four per panel. For even foliage, ensure the second panel is between 1cm and 3cm of the first panels fixing hole for seamless greenery coverage. Too close together will bunch the foliage creating a line, too far apart and the wall will be visible.
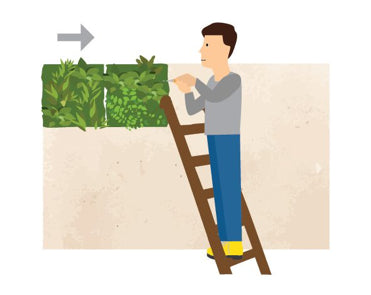
Step 4
Secure the Remaining Panels
Continue this process ensuring you alternate panels to avoid repeating patterns.
*tip - each box of green wall panels have slight variation in greenery placement for a seamless green wall.
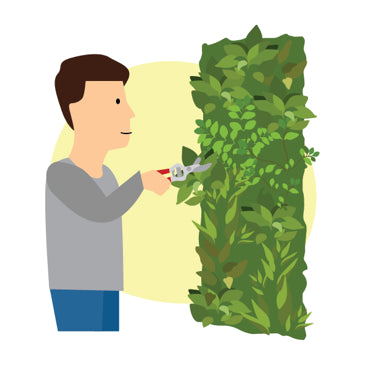
Towards the end you may need to cut the panels to fit the wall. All panels are modular meaning each panel is made up of smaller panels for easier modification. If possible, cut along the lines using a sharp pair of scissors.
Step 5
Ruffle & Enjoy
Ruffle the foliage and add any extra stems as desired. If your green wall is outdoors, consider using cable ties to secure the stems.
We encourage you to take before and after photos and tag us #evergreenwalls on our social channels. Our team would love to see your handy work and feature your projects online!
STEP 6
Unfurl
Ruffle the foliage and add any extra stems as desired. If your green wall is outdoors, consider using cable ties to secure the stems. To view our additional stem options visit here.
We encourage you to take before and after photos. Our team would love to see your handy work and feature your projects online. Feel free to send your pictures to info@evergreenwalls.com.au
Before & After


FAQs - DIY Artificial Green Wall Installation
Everything You Need to Know About Installing Artificial Green Walls
What are artificial green walls and how do they work?
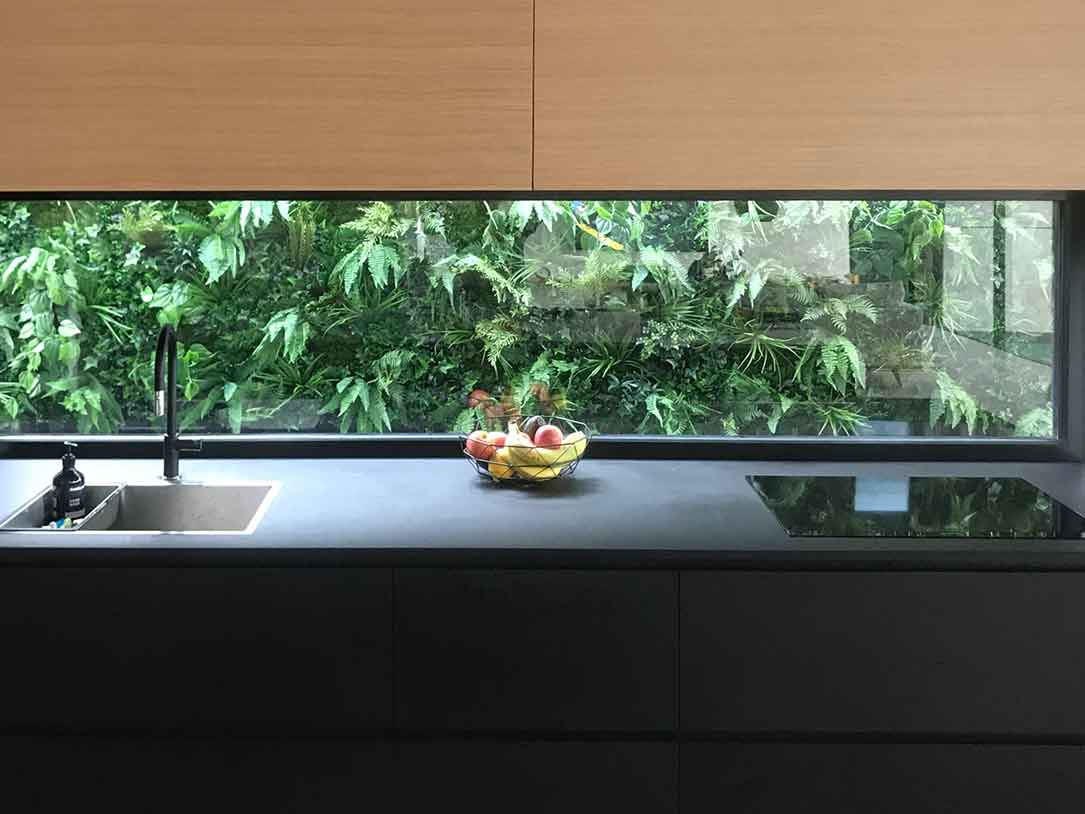
Artificial green walls, also known as vertical gardens, are panels of realistic greenery designed to transform plain walls into lush, vibrant features. Unlike living walls, they require no watering, sunlight, or ongoing care. Made from high-quality, UV-resistant plastics, Evergreen’s green wall panels stay fresh and vibrant year-round, whether installed indoors or outdoors. They bring natural beauty to homes, offices, and commercial spaces without the hassle of maintaining real plants.
What should I prepare before installing a green wall?
Preparation is key to a successful installation. Start by:
- Cleaning and smoothing your wall surface.
- Assessing sunlight, weather exposure, and ventilation.
- Checking for potential hazards such as wiring or plumbing.
- A quick site survey helps ensure your chosen artificial green wall panels fit securely and look flawless for years to come.
Which tools and materials do I need for installation?
Most DIY installations require only basic tools:
- Drill, screws, and raw plugs
- Spirit level, tape measure, and pencil
- Sharp scissors or a utility knife
- Cable ties (for fences or wire surfaces)
Our panels are modular and lightweight, with sturdy plastic backings that can be cut to fit corners and edges. For more complex installations or commercial projects, we recommend our professional installers.
What safety precautions should I take during installation?
Safety always comes first. Use a sturdy ladder, gloves, and protective eyewear. Follow manufacturer instructions for power tools and check the structural integrity of your wall before drilling. Heavier installations may require nylon plugs or special fixings to ensure the panels are secure and long-lasting.
How do I install green wall panels on different surfaces?
The method depends on the surface:
- Gyprock/Plasterboard: Use lightweight anchors.
- Timber: Pre-drill holes and use wood screws.
- Concrete/Stone: Drill holes with masonry bits, secure with plugs and screws.
- Wire/Colorbond Fences: Use cable ties or screws with rubber washers.
Our modular artificial vertical garden panels are designed for versatility, making them suitable for homes, offices, and commercial spaces.
How much does it cost to install an artificial green wall?
Artificial green walls are typically more cost-effective than living walls. Costs vary depending on:
- Panel choice and wall size
- Tools and fixings required
- Whether you install DIY or hire our installers
The benefit: artificial panels are low-maintenance, saving time and money compared to natural plants. Request a free quote to plan your project with confidence.
Do artificial green walls require maintenance?
Minimal upkeep is needed compared to real plants. To keep panels fresh and vibrant:
- Dust occasionally with a soft cloth or leaf blower
- Inspect and tighten fixings if required
- Apply UV protection spray outdoors for longevity
Artificial green walls provide long-lasting greenery with none of the watering, trimming, or fertilising required by living walls.

Australia's leaders in the design, supply, and installation of artificial greenery solutions.