
Artificial hedge walls and green wall panels are an increasingly popular choice for transforming indoor and outdoor spaces. Not only do they add a lush, contemporary feel, but they also require minimal maintenance. While professional installation is available, many homeowners and DIY enthusiasts are opting to tackle installation themselves. With the right approach and tools, it’s entirely possible to achieve a polished, professional-looking result without hiring external help. This guide walks you through the complete process of installing artificial hedge panels and green walls on your own.
Step-by-Step Installation Guide
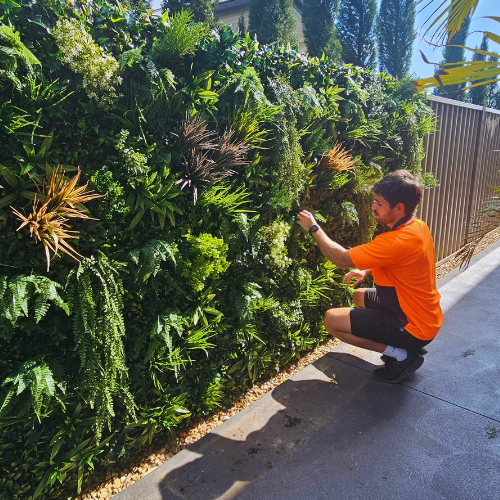
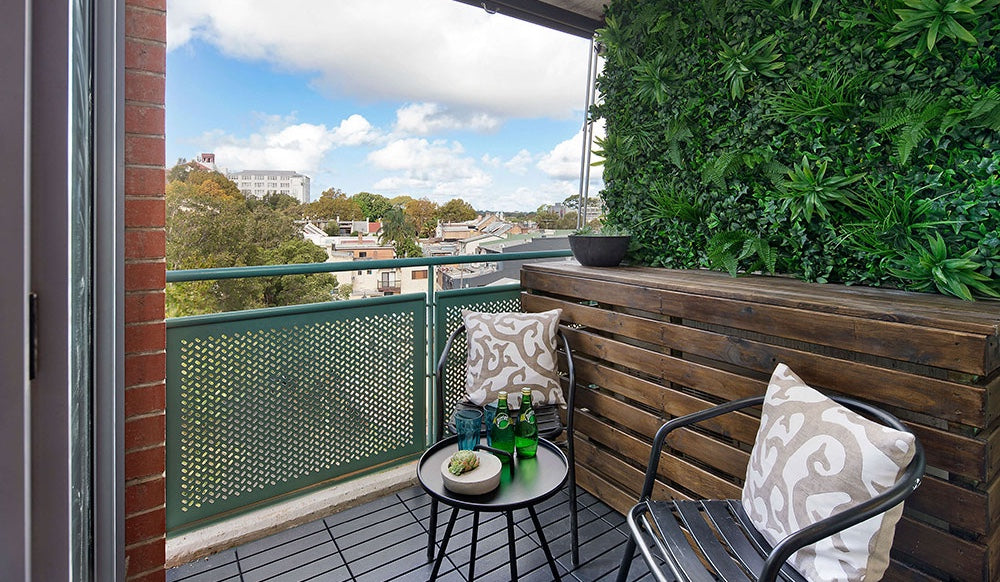
This section provides a detailed walkthrough of how to install your artificial green wall or hedge panels from start to finish. Each step is designed to make the process simple, even for beginners, covering essential tips on preparation, fixing techniques, and finishing touches. Whether you're updating a backyard fence or transforming an indoor wall, these instructions will help you complete your project with confidence and precision.
Step 1: Unboxing and Inspecting Your Panels
Start by carefully unboxing your artificial hedge wall panels. Lay them flat on a clean surface and inspect each panel for any signs of damage, warping, or discolouration. Check the backing material and ensure all the foliage is securely attached. Identifying issues early ensures you won’t run into surprises mid-installation. If any panels appear inconsistent, set them aside and use those in less visible sections.
Step 2: Marking Out the Installation Area
Measure the wall or fence area where you plan to install your panels. Use chalk or masking tape to outline the coverage area. This helps visualise the final layout and ensures your panels will be evenly aligned. Mark anchor points or centre lines to help you stay on track during installation. Always double-check measurements, especially around corners and uneven surfaces.
Step 3: Installing the Backing or Framework
Depending on your surface, a supportive framework may be necessary to secure the panels. For timber fences or wooden walls, panels can often be attached directly. However, for brick, concrete, or metal surfaces, consider installing a timber batten or wire grid first. These frameworks create a more consistent surface and allow for easier alignment. For outdoor green wall applications, make sure the area is free from moisture build-up and is properly ventilated to protect the structure long-term.
Step 4: Securing the Panels
This step is crucial to ensuring your green wall installation remains stable and visually cohesive over time. Securing the panels properly guarantees that they stay in place, align well, and withstand external conditions like wind or movement. The following sections explain how to choose the right fixings and ensure neat, professional alignment.
Using Screws, Cable Ties, or Other Fixings
Choose the appropriate fasteners for your surface. Screws with washers work well for timber or battens, while masonry plugs are ideal for brick. Use cable ties for wire mesh frameworks, ensuring they’re pulled tight to avoid sagging. Space the fixings evenly to support the panel’s weight and keep them flush against the wall.
Ensuring Even Alignment
Maintaining even spacing and consistent alignment across the wall is essential for a polished look. Start from one corner and work row by row, checking alignment frequently with a level or straightedge. Pre-marking a guideline can be helpful for large surfaces. Take your time at this stage to avoid gaps or misaligned panels that can disrupt the overall finish.
Step 5: Trimming Panels to Fit
Not all spaces are perfectly square. Use sharp scissors, garden shears, or a utility knife to trim the panels as needed. Always cut from the back side and follow the grid lines, if possible, to keep edges straight. When trimming to fit corners, curves, or tight spaces, test-fit panels before final installation. Save off-cuts for filling smaller gaps.
Step 6: Blending Panels for a Seamless Finish
For a more natural and cohesive appearance, blend panels by slightly overlapping the foliage where they join. This hides the seams and gives the illusion of a continuous green surface. Mixing panels from different boxes can help minimise colour variation. Consider alternating textures or using different types of artificial hedge wall panels to create subtle depth and dimension. These ideas can elevate a basic installation into a striking green feature.
Step 7: Final Inspection and Clean-Up
Once all panels are in place, perform a thorough inspection. Check that all fasteners are secure and that the foliage is evenly distributed. Look for gaps, uneven sections, or exposed framework. Gently fluff or reposition any leaves compressed during installation. Finish by cleaning up packaging, tools, and loose trimmings to reveal your refreshed space.
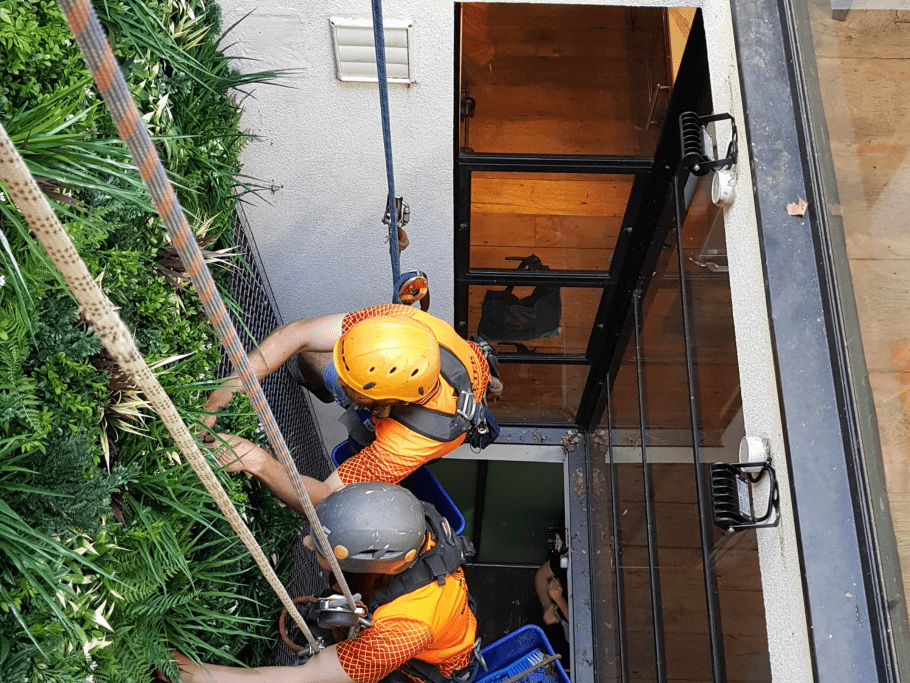
When to Consider a Professional Installation

While most residential applications can be completed by a confident DIYer, certain scenarios may require professional help. Large-scale commercial installations, tall or hard-to-reach walls, or spaces requiring precise custom cuts benefit from expert execution. Professionals also provide fast installation and ensure compliance with any building codes or strata regulations. If your project includes lighting, irrigation, or integration with structural elements, a professional may be the safer option. For most home and backyard projects, though, this guide provides all you need for a rewarding DIY experience.
Conclusion
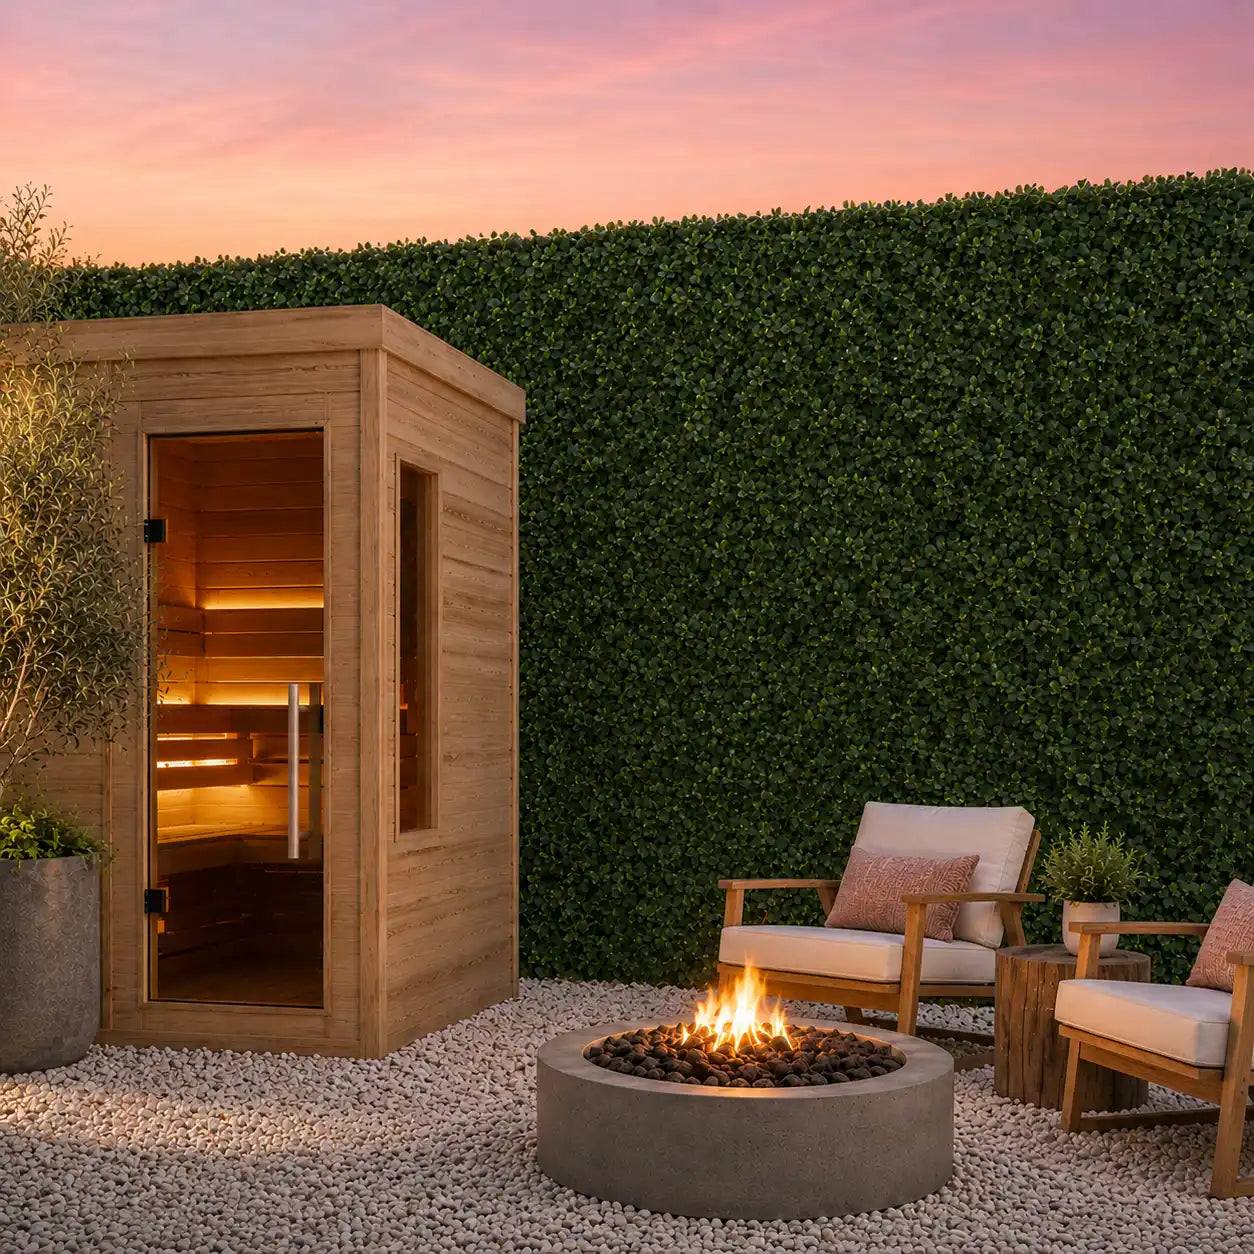
Installing an artificial hedge wall or outdoor green wall is a rewarding project that dramatically enhances any space. By following the step-by-step instructions outlined here, you can achieve a clean, natural-looking result without the need for professional assistance. With the right tools, some planning, and a bit of patience, your home or outdoor area can be transformed into a vibrant green retreat.
Explore Evergreen Walls' Range of Green Wall Panels
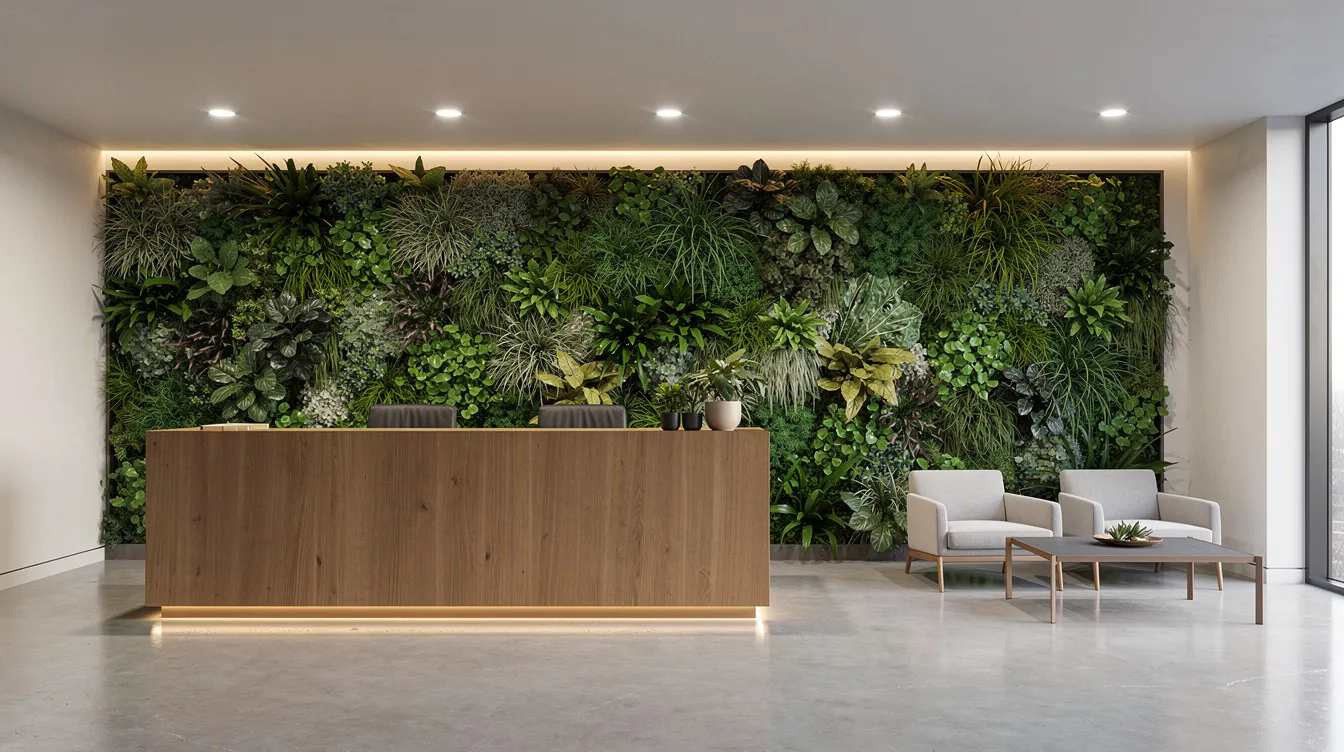
Ready to start your own DIY green wall project? Evergreen Walls offers a diverse range of high-quality artificial hedge wall panels designed for both indoor and outdoor applications. Whether you’re seeking artificial hedge wall ideas or need durable products for a stylish outdoor green wall, Evergreen Walls provides the ideal solution. Browse our collection to find the perfect match for your vision and bring your space to life with confidence.